In this tutorial I show how to render a video for DVD or Blu-ray Disc with Menus and how to Import it into DVD Architect Studio.
The method I show in this tutorial involves using Sony Movie Studio Platinum to render your video first and then sending the video to DVD Architect Studio, where you can then add Menus and burn a DVD or Blu-ray Disc .
If you don't need to create menus and simply want to burn a quick DVD or Blu-ray Disc, please use this alternate tutorial here: How to Burn a DVD or Blu-ray Disc using Sony Movie Studio Platinum
Step 1 - Starting a New Project and Setting your Project Properties
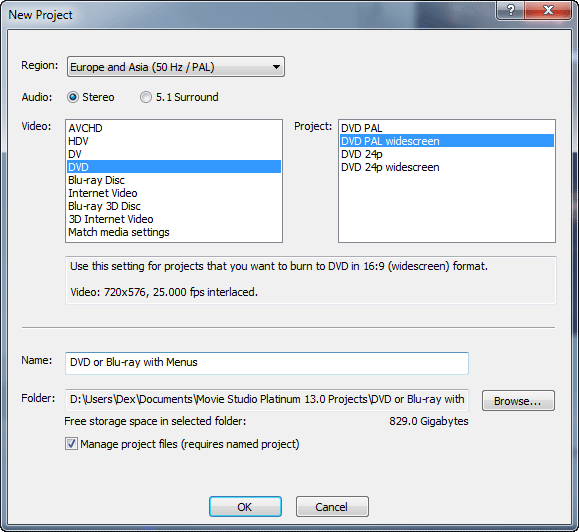
It is always a good idea to start all your Movie Studio projects using the New Project wizard. This is where you can name your new project and tell Movie Studio what type of project you want to make.
Using my method I actually ignore the Region, Audio, Video and Project Settings. I will show you a superior and easier method for setting the main Project Properties at Step 2 and Step 3, so for the meantime just ignore the top section. Before you close the New Project window, please fill out the Name, check the output Folder address and select Manage Project Files. This will automatically create some folders for out project to live in and make your life a lot easier.
Step 2 - Import your Videos
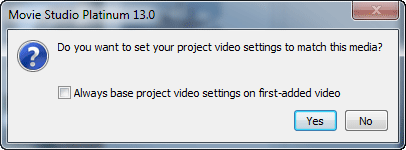
As soon as you import your first Video into the timeline, Movie Studio may open up a new window that says: "Do you want to set your Project Video Settings to Match this Media" ? If this window does pop up, please say YES. This will automatically set your Project Properties for you. If this window does not open up, do not worry. You can manually ask the program to do the exact same process inside the Project Properties window - I will explain how to do this at Step 3.
Step 3 - Check your Project Properties and Match Media Settings
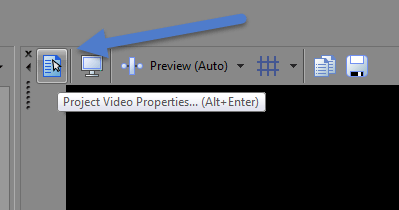
Look above the Preview Window and press the Project Properties button to open the window.
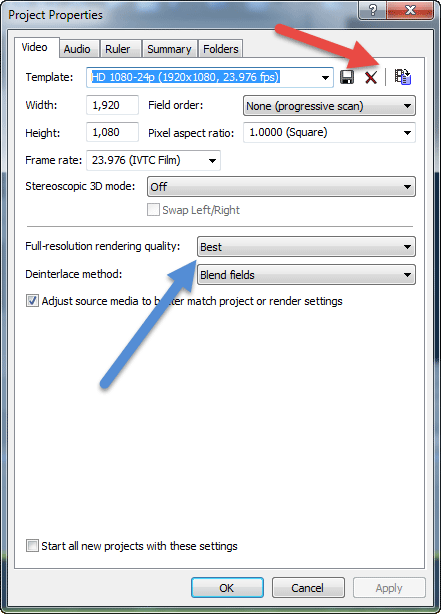
If the pop up window from Step 2 did not appear, press the Match Media Video Settings button now which is marked with the red arrow. Now navigate through your computer and select the same video you imported into your project. If you imported more than one video, you only have to do this once. This will automatically match your original videos properties to be the same as the Project Properties for the whole project. The advantage of doing this, is that it should give you much smoother playback in the Preview Window while you are edting and also make sure you will be outputting to the correct video type for your DVD.
One of the biggest mistakes I see people making all the time, is setting the wrong Frame Rate for their projects. Using the Match Media function, will help to reduce the chance of this happening and take some load of your CPU. If your project properties frame rate settting is different to the frame rate for the videos you are using, this can make your CPU have to do a lot of unnecessary work. Setting these values the same or in even mutliples of the original, improves performance with the program and quality of the final product.
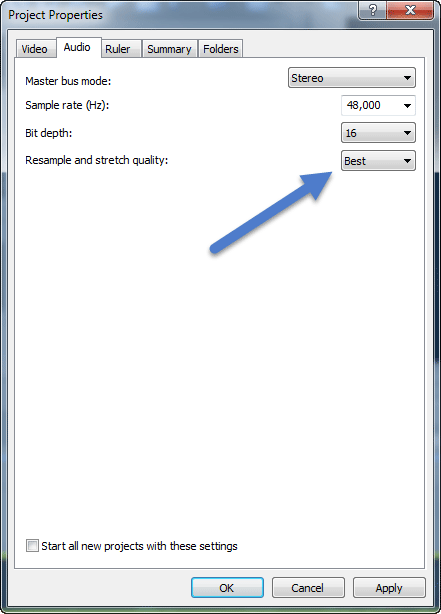
While you are in this window, make sure to also set the Full Resolution Rendering Quality to Best.
Then go to the Audio tab and make sure the Resample and Stretch Quality is also set to Best.
Step 4 - Create your Project
Edit and create your project as you normally would.
Step 5 - Make Movie
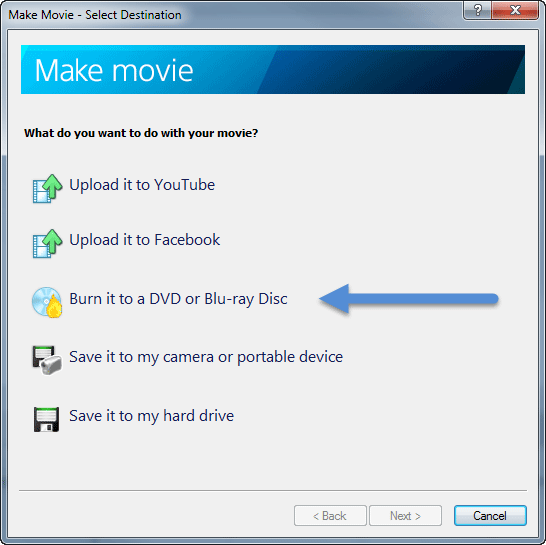
Once your project is complete and ready to render into a Video for DVD or Blu-ray Disc with Menus, remember to do one final Save As. Then press the Make Movie button. Select Burn it to a DVD or Blu-ray Disc.
Step 6 - Rendering Video for DVD with Menus
If you want to render a Video for Blu-ray Disc with Menus, go directly to Step 8.
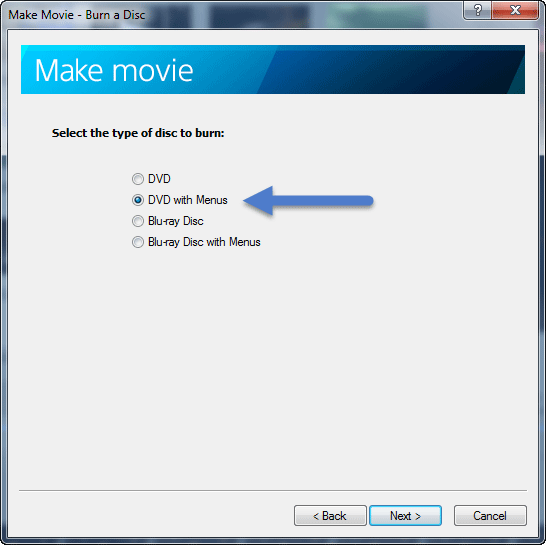
If you want to render a Video for DVD with Menus, select the second option that says "DVD with Menus" and then press Next.
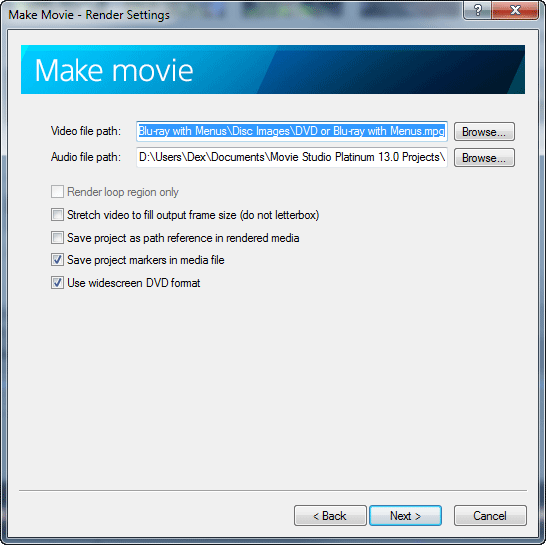
Movie Studio Platinum will automatically set all the behind the scene settings for you. There are a few options that you can choose to turn ON or OFF. The options displayed below are what you would typically see and use. Press Next.
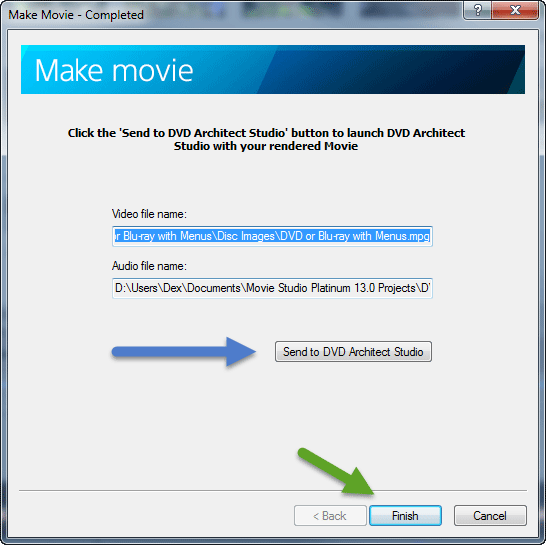
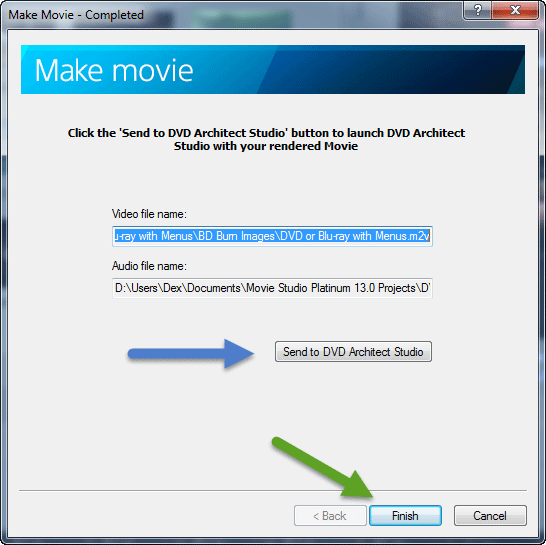
Video and Audio files will automatically render. Once it has finshed rendering, you will see this window below. Select Send to DVD Architect Studio.
Step 7 - DVD Architect Studio
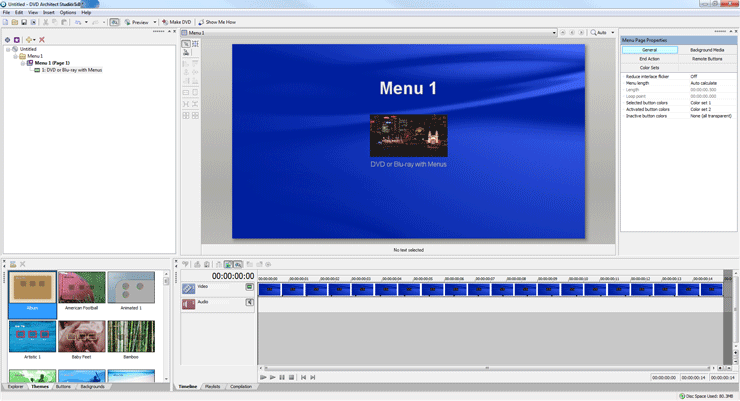
DVD Architect Studio will now boot up and your Video will be automatically imported into the program. Your Project Properties for the new DVD Architect Studio project will also be automatically set to match the Video from Movie Studio Platinum.
Remember to name and save your new DVD Architect Project.
Go to File - Save As
DVD Architect Studio should automatically open up in a master folder for DVDAS inside My Documents. If there is no folder inside called DVD Architect Studio 5.0 Projects, create one now and save all your DVD projects to here.
Create a New Folder and name it. Then open this new folder and name/save the actual project.dar project file.
That is as far as I am going to go with this tutorial, in regards to using DVD Architect Studio. If you want to learn more about DVD Architect, please check out my other tutorials here.
If you want to render a video for Blu-ray disc, please proceed to Step 8..
Special Note for DVD and Blu-ray projects with more than one video
If you need to render more than one video for your DVD or Blu-ray Disc with Menus, you will have to go back all the way to Step 1 and create a brand new project for each separate video. After the second video has finished rendering and you are greeted with the window (just above Step 7 with blue & green arrow), DO NOT press Send to DVD Architect a second time - instead select Finish (green arrow).
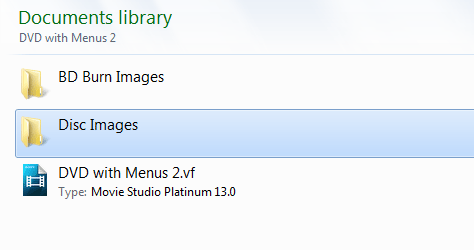
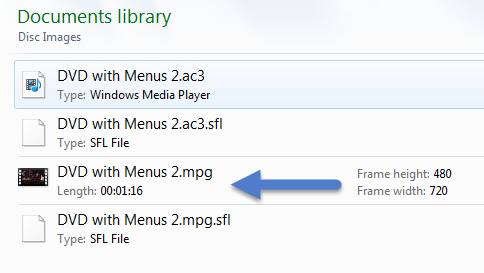
To import your second, third, fourth........videos, simply import directly into your DVD Architect Project that was created by your first video being sent to DVDA. You will find your rendered videos inside My Documents - Movie Studio Platinum Projects - Your Project - Disc Images - yourvideo.mpg
Please watch the video tutorial for crystal clear instructions on what to do !
Step 8 - Rendering Video for Blu-ray Disc with Menus
Press the Make Movie button. Select Burn it to a DVD or Blu-ray Disc.
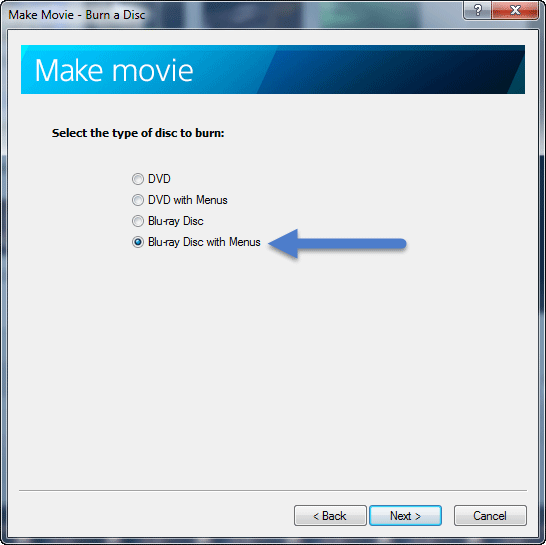
Select Blu-ray Disc with Menus and press Next.
Press Next.
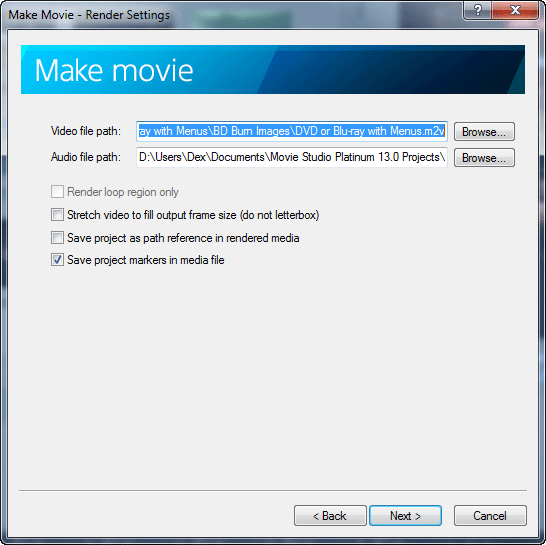
Movie Studio Platinum will automatically render the Video and Audio files for your Blu-ray Disc. When it has finished rendering, the window below will appear. Select Send to DVD Architect Studio and it will open DVDA, Import the Video and set all the Project Properties automatically for you.
That's it - end of tutorial.
Writeable DVDs and Blu-ray Disc Capacities
Single Layer 4.7GB discs can hold about 60-90 minutes of best quality MPEG-2 Video for DVD.
If your video is too big for a single layer 4.7GB disc, you can use Dual Layer 8.5GB discs which can hold 120-180 minutes of best quality MPEG-2 Video for DVD.
If you only have 4.7GB Single Layer discs and the estimated size is larger than 4.7GBs, you will have to use a different method for creating your DVDs.
Please read this article for futher instructions:
How to Compress and Fit a Long Video onto a DVD
Single Layer 25GB Blu-ray Discs can hold about 90 minutes of best quality MPEG-2 Video for Blu-ray.
Dual Layer 50GB Blu-ray Discs can hold 180-240 minutes of best quality MPEG-2 Video for Blu-ray.

About Derek Moran
Derek Moran is the author of all articles on Movie Studio Zen.
You can find me on YouTube, Facebook, Twitter, Read more about Derek...

