In this tutorial I show to to do a complete Clean Install of Windows 10, which I recommend you do if you upgraded for to Windows 10 for free.
A clean install is the only way to remove any garbage and errors left behind by Windows 7 or Windows 8/8.1. If you are reading this tutorial way into the future and have just built your own computer, you can also follow these instructions for installing Windows 10.
Topics Covered in this Tutorial
Backing Up Your Media Files and Data
Getting Familiar With Your Computer's Hardware Configuration
Downloading the Latest Version of Windows 10 from Microsoft
Creating a Windows 10 USB Boot Drive
Creating a Windows 10 Bootable DVD
Configuring Drives and Folders
Configuring Windows 10 Settings and Programs
Restoring Your Media and Data Files
Computer Housekeeping and Maintenance
Upgrading to Windows 10
If you will like to upgrade to Windows 10 from Windows 7 or Windows 8/8.1, please watch this tutorial first.
Backing Up Your Media Files and Data
Before you do anything, remember to do a full backup of your PC. When you do a clean install of Windows, anything that is currently on your C: Drive will be completely removed before the installation begins.
If you have extra large capacity storage drives also in your computer, these will not be affected by a clean install of Windows 10. So it is safe to move data to a D: Drive and then move files back to the C: Drive after the install is complete.
Getting Familiar With Your Computer's Hardware Configuration
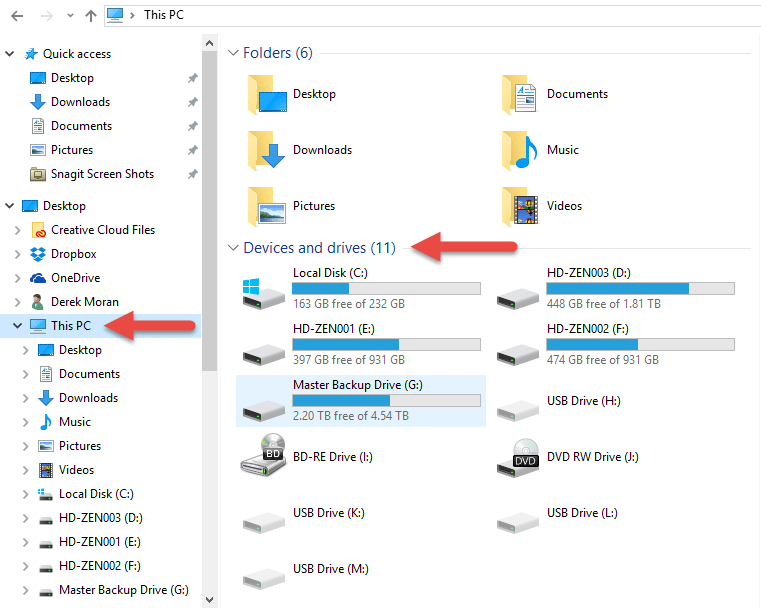
Find out how many Hard Drives and/or SSDs (Solid State Drives) are installed in your PC and what capacity each one has. This will make it easier to identify which storage drive to install Windows 10 onto, when the installer asks this question. Open Windows Explorer and select My Computer, Computer or This PC. Below is a screen shot from my PC. Under Devices Drives you can see 5x storage drives. If you have a regular off the shelf computer, more than likely you will see just one Local Disk (C:) drive. If this is the case, your current version of Windows, all your Data Files, Media Files, Programs and Apps will all live on this one drive. This is why it is so important to backup your data.
If you have more than one Hard Drive, it will probably be a large capacity storage drive like my (D:) drive. Secondary drives will not be affected by upgrades or clean installs. If you don't have an External Hard Drive, you could temporarily move any important data files from your C-Drive onto the D-Drive, E-Drive, etc... Remember it is only the C-Drive that gets affected by the upgrade and clean install.
Please take note of the Disk Capacities shown in GBs or TBs. This is an easy way to identify multiple drives in the Windows Installer. You need to be confident in selecting the C-Drive and not an additional storage drive, otherwise it will be tears before bedtime. Grab a screen shot of what this window looks like and save it to a USB drive if you have crappy short term memory problems like myself!
Which exact version of Windows do you currently own ?
The Windows 10 installer is able to detect your current version of Windows and your default settings, however I still think it is a good idea to manually discover this for yourself, so that you can crosscheck and confirm the installer is working correctly.
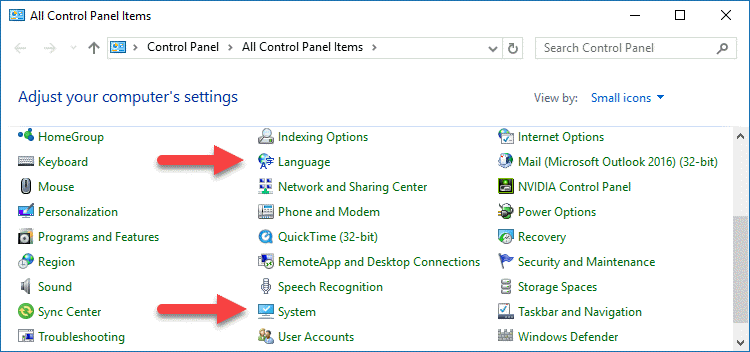
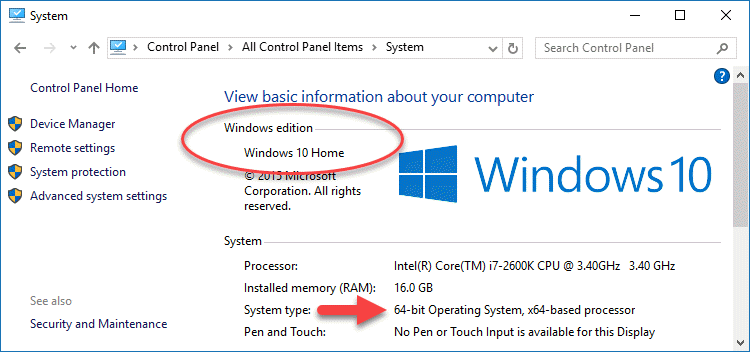
Open the Windows Control Panel and select System. Now write down the exact version of Windows you currently own and if it is 64 bit or 32 bit. There are different versions of Windows 10 and you can only upgrade to the equivalent version you already own for free. If you need a more advanced version of the Windows 10, you will need to pay for it.
Also check your language and see what keyboard type you currently use. For many of us, we should be using a US style keyboard layout. If you install the wrong version, you may find it impossible to use your keyboard properly. If you accidentally do this (highly unlikely), it can be fixed by changing your default settings after the upgrade process.
Downloading the latest version of Windows 10 from Microsoft
Before you re-install Windows 10, you will need to download a copy of Windows 10 from Microsoft and save it to a USB Drive or burn a DVD.
The process is officially called Creating Windows 10 Installation Media.
Go to the following link and press Download Tool Now.
https://www.microsoft.com/en-us/software-download/windows10
A file called MediaCreationTool.exe will download now.
Run MediaCreationTool.exe directly from your web browser or Downloads Folder, to start the download sequence for Windows 10.
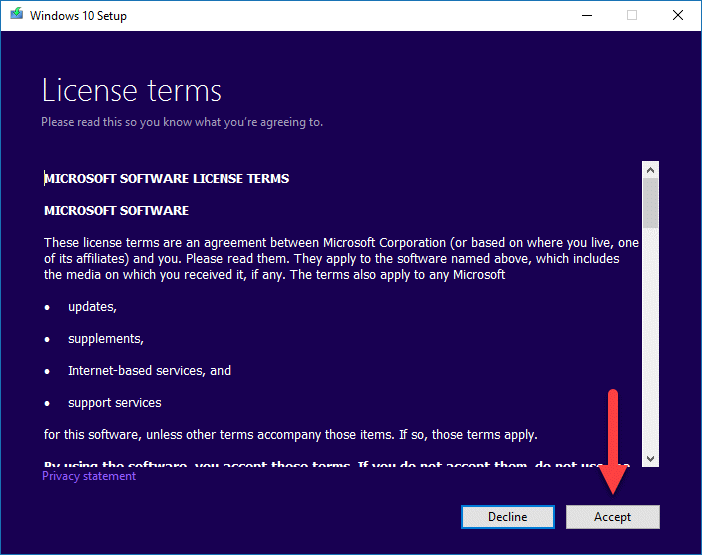
Accept License Terms
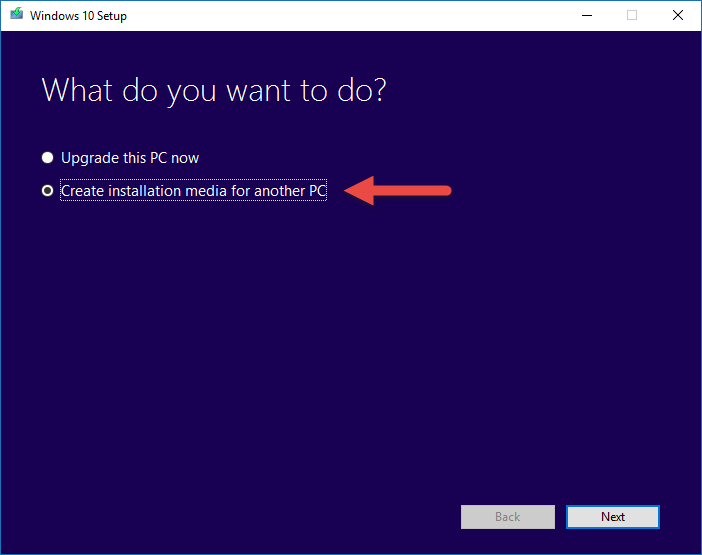
STOP !!! Do not select Upgrade the PC now
You must select Create installation media for another PC, because we need to burn a copy of Windows 10 onto a DVD or save to a USB Flash Drive.
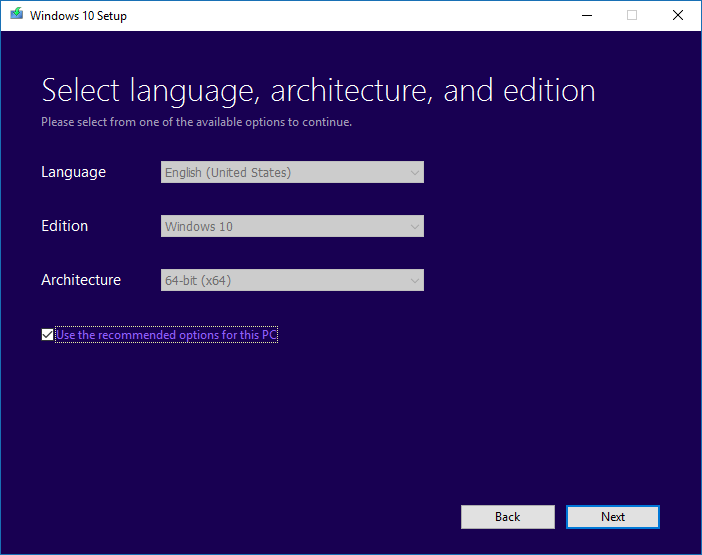
Use the recommended options for this PC will be selected by default. The download app will be able to automatically detect your current Language, Edition and Architecture and make sure you get the correct version of Windows 10 that is equivalent to your current version of Windows 7 or Windows 8.1.
Creating a Windows 10 USB Boot Drive
You have the option of saving your copy of Windows 10 to a USB Drive or burn to a DVD.
Below are instructions for how to save Windows to a USB Drive.
If you prefer to burn a DVD instead, skip this section and go directly to Creating a Windows 10 Bootable DVD
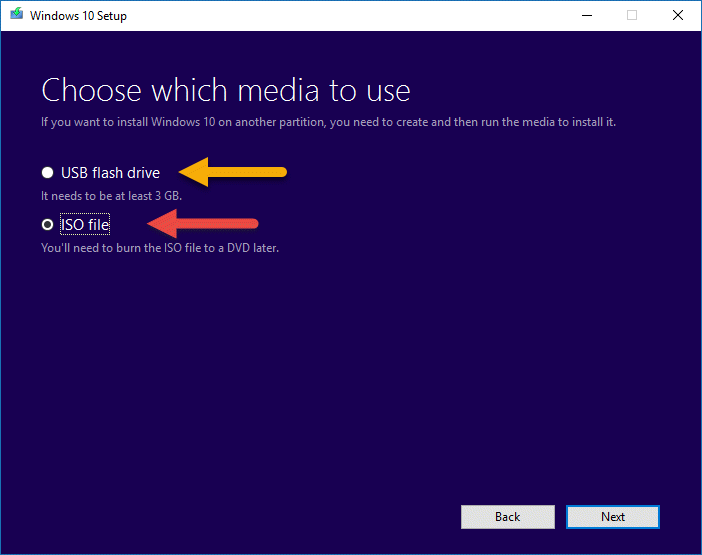
Select USB flash drive to create a bootable drive or ISO file to burn a Windows 10 installation disc. Please note that both options will do the exact same thing. My personal preference is to burn a DVD, because I have heard some people experiencing problems when using a USB flash drive.
If you select USB flash drive, it will need to be at least 3GBs in capacity and completely empty. If you accidentally leave anything important on the drive, it will be formatted and removed before Windows 10 is saved onto it. Before you press Next, make sure to first connect your USB flash drive.
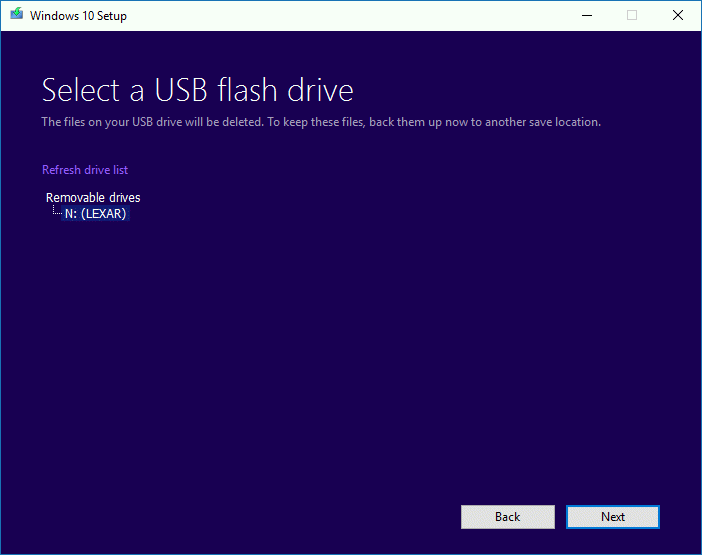
If you have multiple USB drives connected, make sure to select the correct one from the removable drives list and then press next. The installation file is very large, so it may take up to an hour or more to download completely.
When the download is complete, you are ready to begin the actual upgrade process.
Press here to jump directly to upgrade instructions.
If you chose to burn a DVD from an ISO file, keep reading...
Creating a Windows 10 Bootable DVD
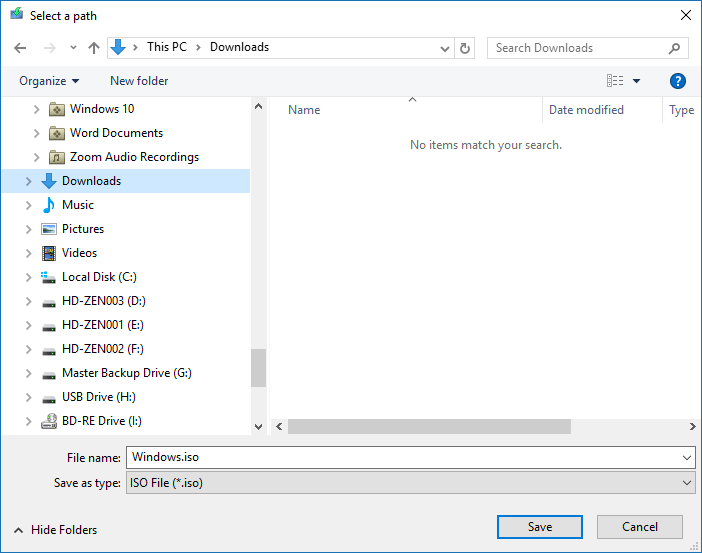
If you prefer to burn Windows 10 onto a DVD, select ISO file and press next. Then find a place on your computer to save the file to. You need to do this first and then you can burn it to a DVD.
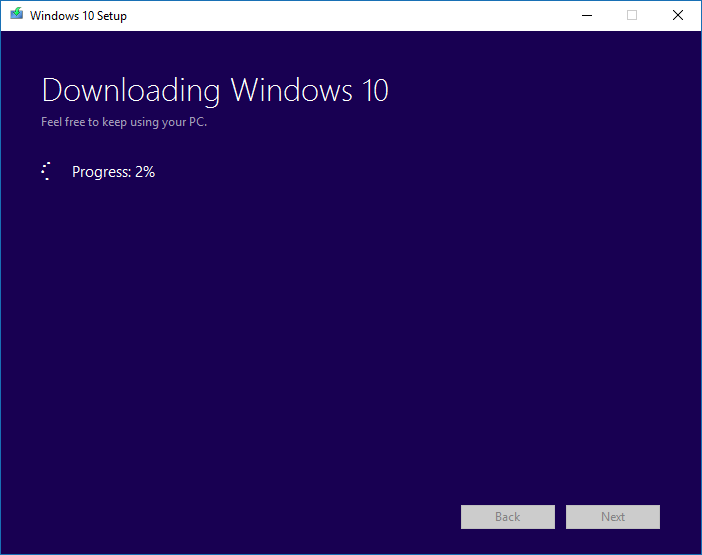
Progress circle will let you know how fast or slow the download is taking.
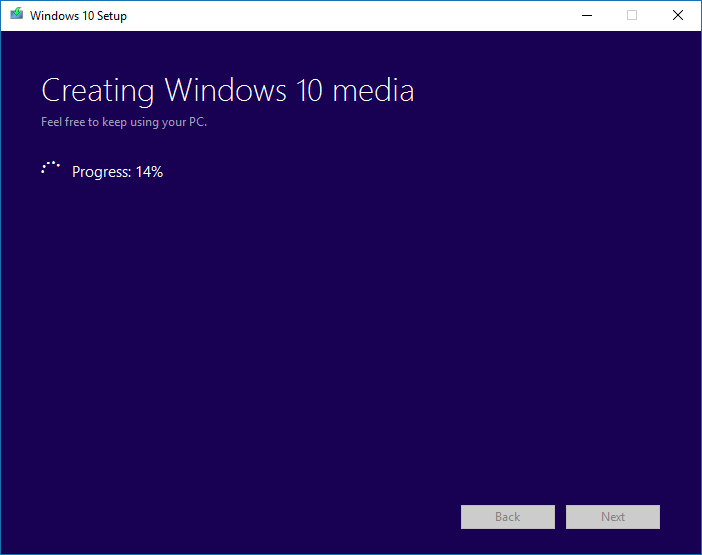
File is now unpacking and being created.
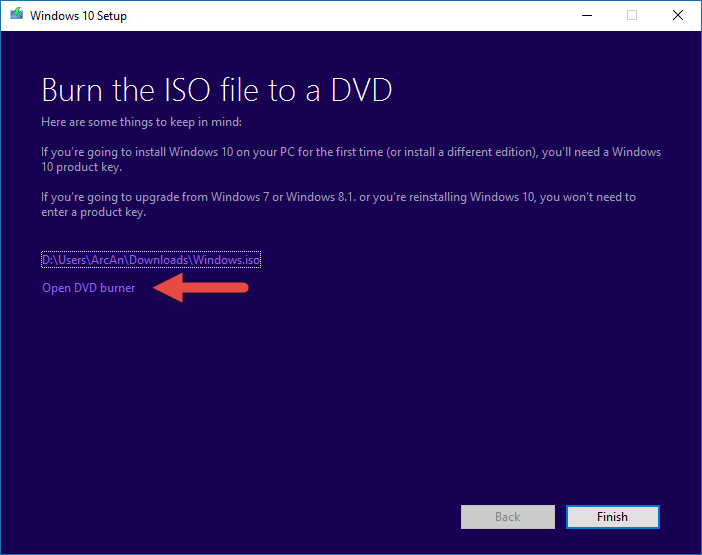
When download is complete, select Open DVD burner and Finish.
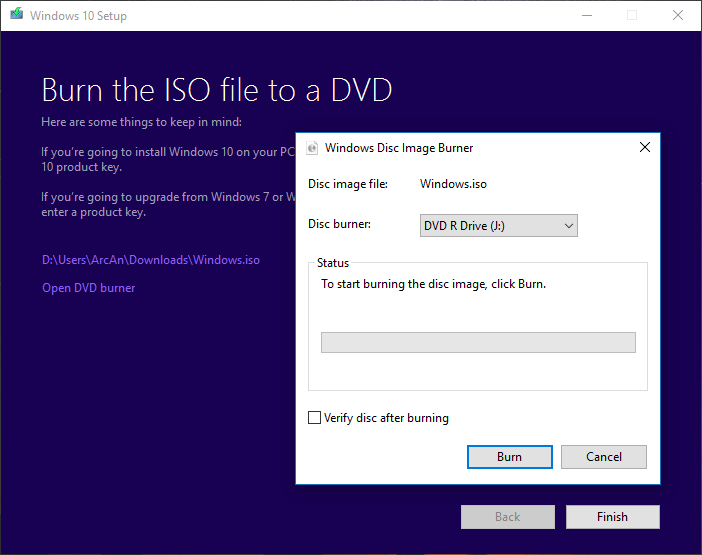
Insert a writable DVD and press Burn
When the DVD is complete, you are ready to begin the actual installation of Windows 10. At this stage you can take a break or even leave it for another day before installing the actual upgrade.
Installing Windows 10
Instead of reading a massive list of screen shots, I suggest you now watch the video tutorial at the top of this article.
In the video I show all the steps you will encounter during the installation of Windows 10. If you own an iPad or Android Tablet, you could watch my video tutorial while you install Windows on your own computer.
If you did not upgrade to Windows 10 first and have not downloaded a copy of Windows 10 yet, please go back and read this section from my tutorial about "How to Upgrade to Windows 10".
This is your last chance to backup any data on your computer, so don't forget to do it now otherwise you will only have yourself to blame if something goes wrong. Backups are like toilet paper - you can never have enough, but if you run out it's your own fault.
Windows Update
When Windows 10 has finished being installed, you will be eager to begin re-installing all your favourite programs. I strongly advise that you hold back on doing this, until Windows has 100% finished installing any updates and drivers. If you remain patient and let Windows settle down a little bit, it will actually make it easier and faster to install your programs after the updates have completed. There is a lot of activity going on in your Hard Drive and/or Solid State Drive right now, and the drive will work a lot better if you don't stress it out by forcing it to work overtime!
Press the Windows Start button, then go to Settings and here you will find Update and Security.
You should see a stack of updates being downloaded. If you see the words re-start now, do it! Then keep going back to this window, until there is nothing left to update and install. Once Windows Update is complete, it is time to move to the next steps.
Re-Installing Drivers & Apps
After upgrading to Windows 10 or performing a clean install of Windows 10, you may discover a few things are not working properly. Examples of this are USB ports, Speakers, Microphones, Webcams, etc.... What this normally means, is that the Drivers maybe missing or they need updating.
If you bought a computer "off the shelf" and it came with a suite of extra programs, you will need to re-install these after doing a clean install of Windows 10.
If you built your own computer, the Motherboard would have been packaged with an installation disc, containing specialised Drivers, Apps and Programs. After doing a clean install of Windows 10, you will need to re-install everything from this disc or download updated versions direct from the manufacturer's website.
Please read and watch this tutorial, for more detailed instructions about how to re-install your Drivers & Apps.
How to Re-Install Drivers and Apps for Windows 10
Configuring Drives and Folders
If you have more than one Hard Disc Drive (HDD) or Solid State Drive (SSD) installed on your computer, you will probably need to re-configure the master Windows Media & Data Folders, so that you data is saved to the correct locations.
Adding Extra Drives
The first thing you need to check, is to make sure any additional drives are actually showing up in This PC.
Go to Windows Start/File Explorer/This PC.
If you only have one drive, you will just see Local Disc (C:)
If you have more than one drive but it is not showing, don't freak out! You will need to go into Disc Management and manually add your new drive. Right-click Windows Start and select Disc Management. From this point onward, I recommend you watch this short video tutorial from Linus Tech Tips on YouTube.
Configuring Windows Folders
If you would like to change the default location of your master Windows Folders, like Documents, Pictures, Music and Videos, you need to manually change the location addresses. Please watch the video tutorial for detailed instructions on how to do this. I have added quick-links in the YouTube video description, which will take you directly to that part of the tutorial. Please note that you will need to view the video on YouTube, to see the quick-links. Press YOUTUBE icon in bottom right corner of video to do this.
Configuring Windows 10 Settings and Programs
There are a few default settings in Windows 10 that need to be changed, before you can start browsing the Internet with your favourite web browser. The default web browser in Windows 10 is Microsoft Edge. YOU DO NOT HAVE TO USE THIS! Edge is only a basic web browser and will just frustrate you to no end. Please follow my instructions in the video tutorial and I will show you how to get Internet Explorer up and running first. Then you will be able to download Google Chrome and Firefox and get back to what you are used to.
Installing Your Programs
Now you can begin to re-install all your favourite programs.
Restoring Your Media and Data Files
Now you can restore any media and data files back to your C-Drive from your backups.
Troubleshooting Problems
I have lost count of the number of clean installs of Windows I have performed over the years. It is not unusual to experience a few minor glitches after doing this. Most problems are related to missing or incompatible Drivers. So if you discover that some of your USB ports are not working or your webcam is not working, it just means that you need to find and install Windows 10 Drivers for these devices. Going to the manufacturers website is the best to start. If you do experience any problems like this, let me know and I can point you in the right direction.
Computer Housekeeping and Maintenance
After any clean install of Windows and New Programs, there will be a huge amount of temporary installation files clogging up your Hard Drive. These can easily be removed using a free program called CCleaner.
Over the next couple of days and weeks, I will be uploading more tutorials on how to use Windows 10.
All the best with your clean install of Windows!

